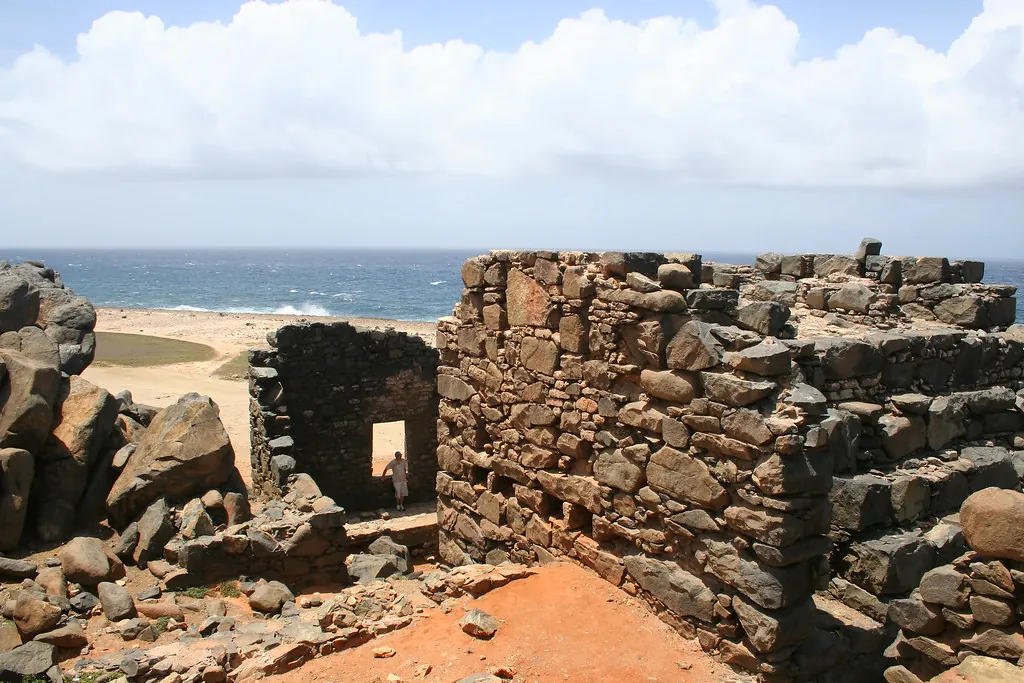
Visiting the Bushiribana Gold Mill Ruins feels like stepping into a desolate, sun-bleached frontier. Located on Aruba’s “wild” northeast coast, the atmosphere is defined by the unrelenting roar of the Atlantic crashing against limestone cliffs and the constant whistle of the 25-mph trade winds. It is an uncurated experience—there are no velvet ropes or ticket booths—just a massive, hulking stone fortress that serves as a silent witness to the island’s 19th-century gold fever. The structure, built in 1872, was designed to defend its precious cargo, and that defensive posture remains palpable today as you stand within its weathered walls.
The energy of the site shifts dramatically throughout the day. In the midday sun, it is a high-adventure hub; at dawn, it is a haunting, majestic stillness.
The contrast between the yellow-toned masonry and the deep turquoise of the ocean creates a visual “Golden Middle” for travelers. It is rugged enough for the adventurer yet accessible enough for the casual sightseer looking for a powerful photograph. Because it is exposed to the elements, the site provides a visceral connection to the Aruban Gold Rush Chronicles, where the harshness of the environment dictated the success of the industrial process.
Operational Essentials
Bushiribana operates on ‘island time,’ meaning it is accessible to the public 24 hours a day, 7 days a week. There are no entrance fees, making it one of the most cost-effective historical stops on any Aruba itinerary. However, visitors must account for the total lack of infrastructure; this is a raw heritage site. There are no permanent visitor centers, ticketing kiosks, or shaded pavilions to escape the equatorial sun.
One critical logistical delta for visitors is the restroom gap. There are no public facilities at the ruins. The nearest restrooms are located approximately 2 kilometers southeast at the Natural Bridge Gift Shop, which usually requires a $1.00 USD fee for non-customers. If you are planning a long photography session, ensure you have made a pit stop before navigating the north coast roads.
| Feature | Details |
|---|---|
| Opening Hours | 24/7 (Sunrise/Sunset recommended) |
| Entrance Fee | Free |
| Accessibility | Difficult (Rocky, uneven terrain) |
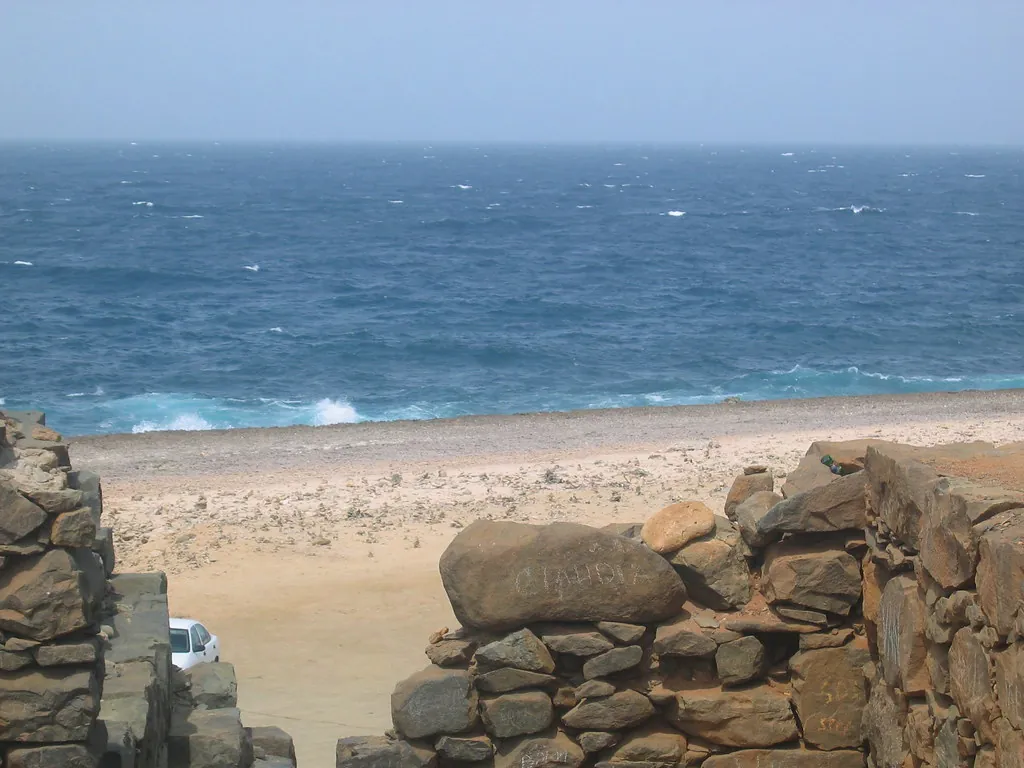
| Parking | Free gravel lot adjacent to ruins |
| Cell Service | Intermittent (Download offline maps) |
Critical Safety Warnings
The north coast is beautiful but unforgiving. The primary hazards are heat exhaustion and the rugged nature of the limestone ground. There is zero natural shade within the ruins themselves. The UV index here frequently hits 11+, which can cause severe burns in less than fifteen minutes without proper protection.
- Footwear: The terrain consists of “dogtooth limestone”—jagged, razor-sharp volcanic rock. Flip-flops or thin-soled sandals are hazardous; sturdy sneakers or hiking sandals with reinforced soles are required to safely enter the ruins’ interior levels. Consult our packing guide for specific gear recommendations.
- Hydration: Carry a minimum of 1 liter of water per person. The combination of high heat and dehydrating trade winds can be deceptive.
- The Tradewind Factor: The 15–25 mph winds are constant. Avoid loose-fitting hats without chin straps and exercise extreme caution if flying drones near the cliff edges.
- Preservation Ban: While you can explore the interior, climbing on the exterior “fortress” walls or standing in high window frames is prohibited to prevent erosion of the 19th-century lime-mortar joints.
Navigating Peak Congestion
Because the ruins are a primary stop for off-road excursions, the site experiences heavy traffic spikes. Large UTV and ATV tour “caravans” typically arrive in waves between 10:30 AM and 1:30 PM. During these hours, the gravel lot can become crowded with dozens of vehicles, and the interior of the mill fills with groups. For those seeking the “solitude” part of the vibe, planning your arrival before 9:00 AM or after 4:30 PM is essential for unobstructed views of the architectural masonry.
Geological Marvels Nearby
While the ruins are the anchor, the surrounding coastal geology offers more to explore. Directly adjacent to the Bushiribana coastline, the volcanic limestone is riddled with vents. When the tide is right, the Atlantic pressure forces seawater through these holes, creating sudden geysers that spray mist high into the air. A five-minute drive southeast leads to the “Baby Bridge,” a safe, fully intact natural span that provides a perfect vantage point of the pounding surf.
Further exploration leads to Black Stone Beach, the only shoreline on the island featuring black volcanic pebbles instead of white sand. It is also home to a rare triple-arch natural formation known as the Tripod Bridge. When walking these areas, stay at least ten feet back from the cliff edges, as the limestone undercuts can be unstable due to centuries of wave erosion.
The Explorer’s Strategy
For the best experience, aim for the ‘Golden Hour.’ Arrive approximately 45 minutes before sunset. Because the ruins face the ocean (East/Northeast), the setting sun illuminates the yellow-toned limestone against the darkening blue of the Atlantic, creating the most dramatic lighting for professional-grade photography.
Senior Travel Editor’s Note
If you are driving yourself, be aware that the road between Bushiribana and the Natural Bridge is a notorious cellular “dead zone.” Ensure you have downloaded offline maps before leaving the hotel district. If you encounter a flat tire—a common occurrence on the sharp limestone tracks—stay with your vehicle; the tour caravans pass by frequently and are usually helpful to stranded solo drivers. For more on safe transit, see our guide to driving on the North Coast.